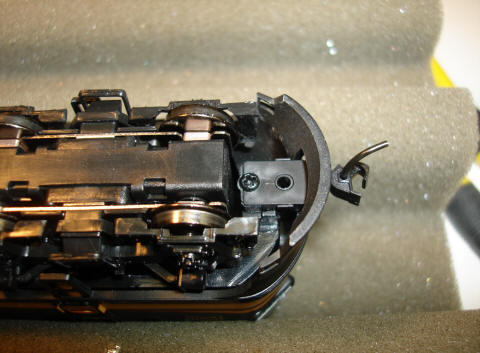
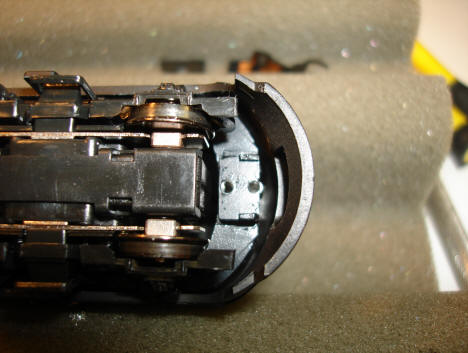
Begin by removing the front coupler and pocket.
|
|
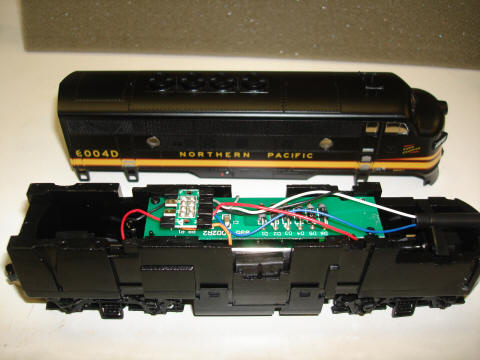
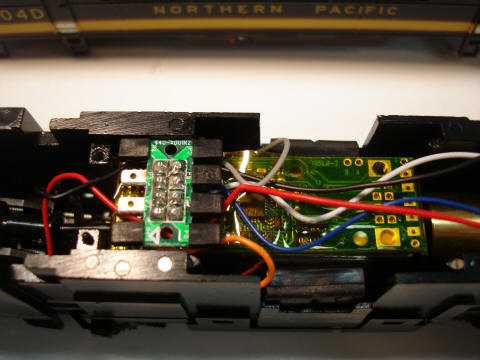
Gently pry the sides of the locomotive and remove shell. Unplug the 8 ping plug from the oem board.
|
|
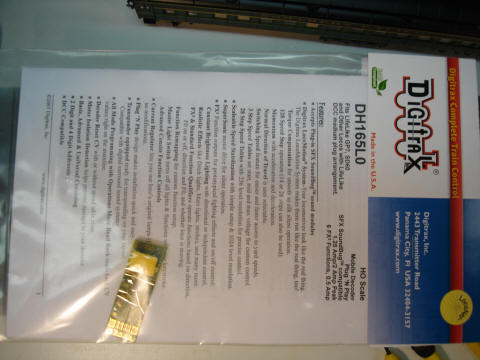
For this installation, I used a Digitrax DH165L0 which is a drop in replacement for this and many other Proto 1000 models.
|
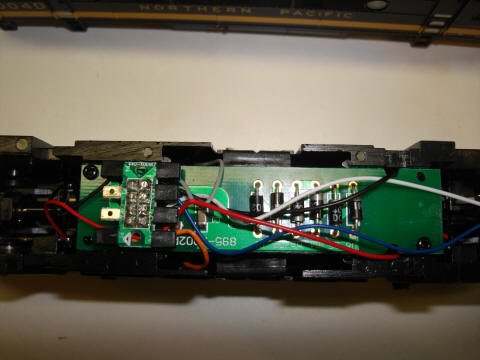
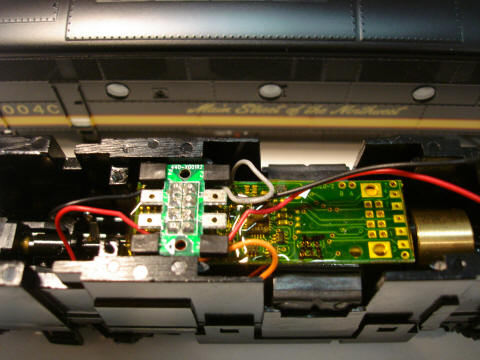
I placed a piece of double sided tape on top of the motor frame and secured the decoder to it. I then plugged the 8 ping plug into the decoder.
|
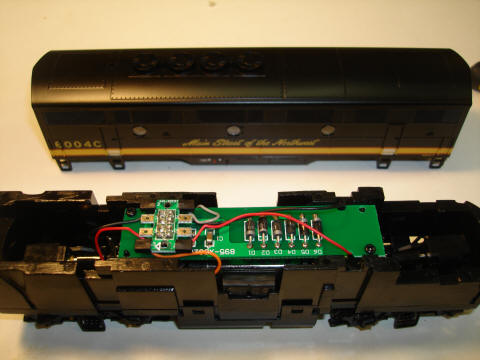
The procedure is the same for the B unit except you do not need to remove either coupler pocket.
|
|
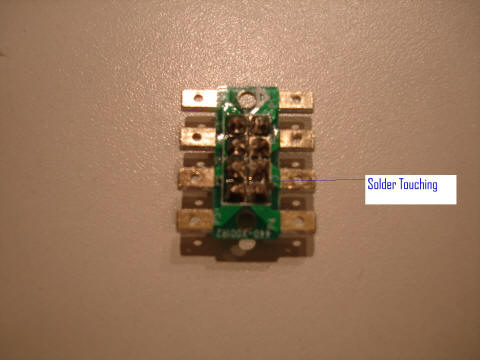
After installing the decoder in the B unit, I placed it on the track for a test run. With the throttle set to 0 the locomotive immediately started moving also causing an enormous drain on the dcc system. After testing the jumper plug with my voltmeter, I found that P3 and P4 were conducting current between each other. I used my magnifying glass and discovered that the solder was touching on top of the plug between P3 and P4. After a little filing, I put the decoder back in and everything worked great.
|
